
PPID & web export
Once a product image is approved in the Iconik Review Process
- whether it came from photography or CG - it’s prepped as a PPID image: resized, renamed to the convention, and published to the website. All of this is handled in Photoshop via the Groot Publisher plugin.
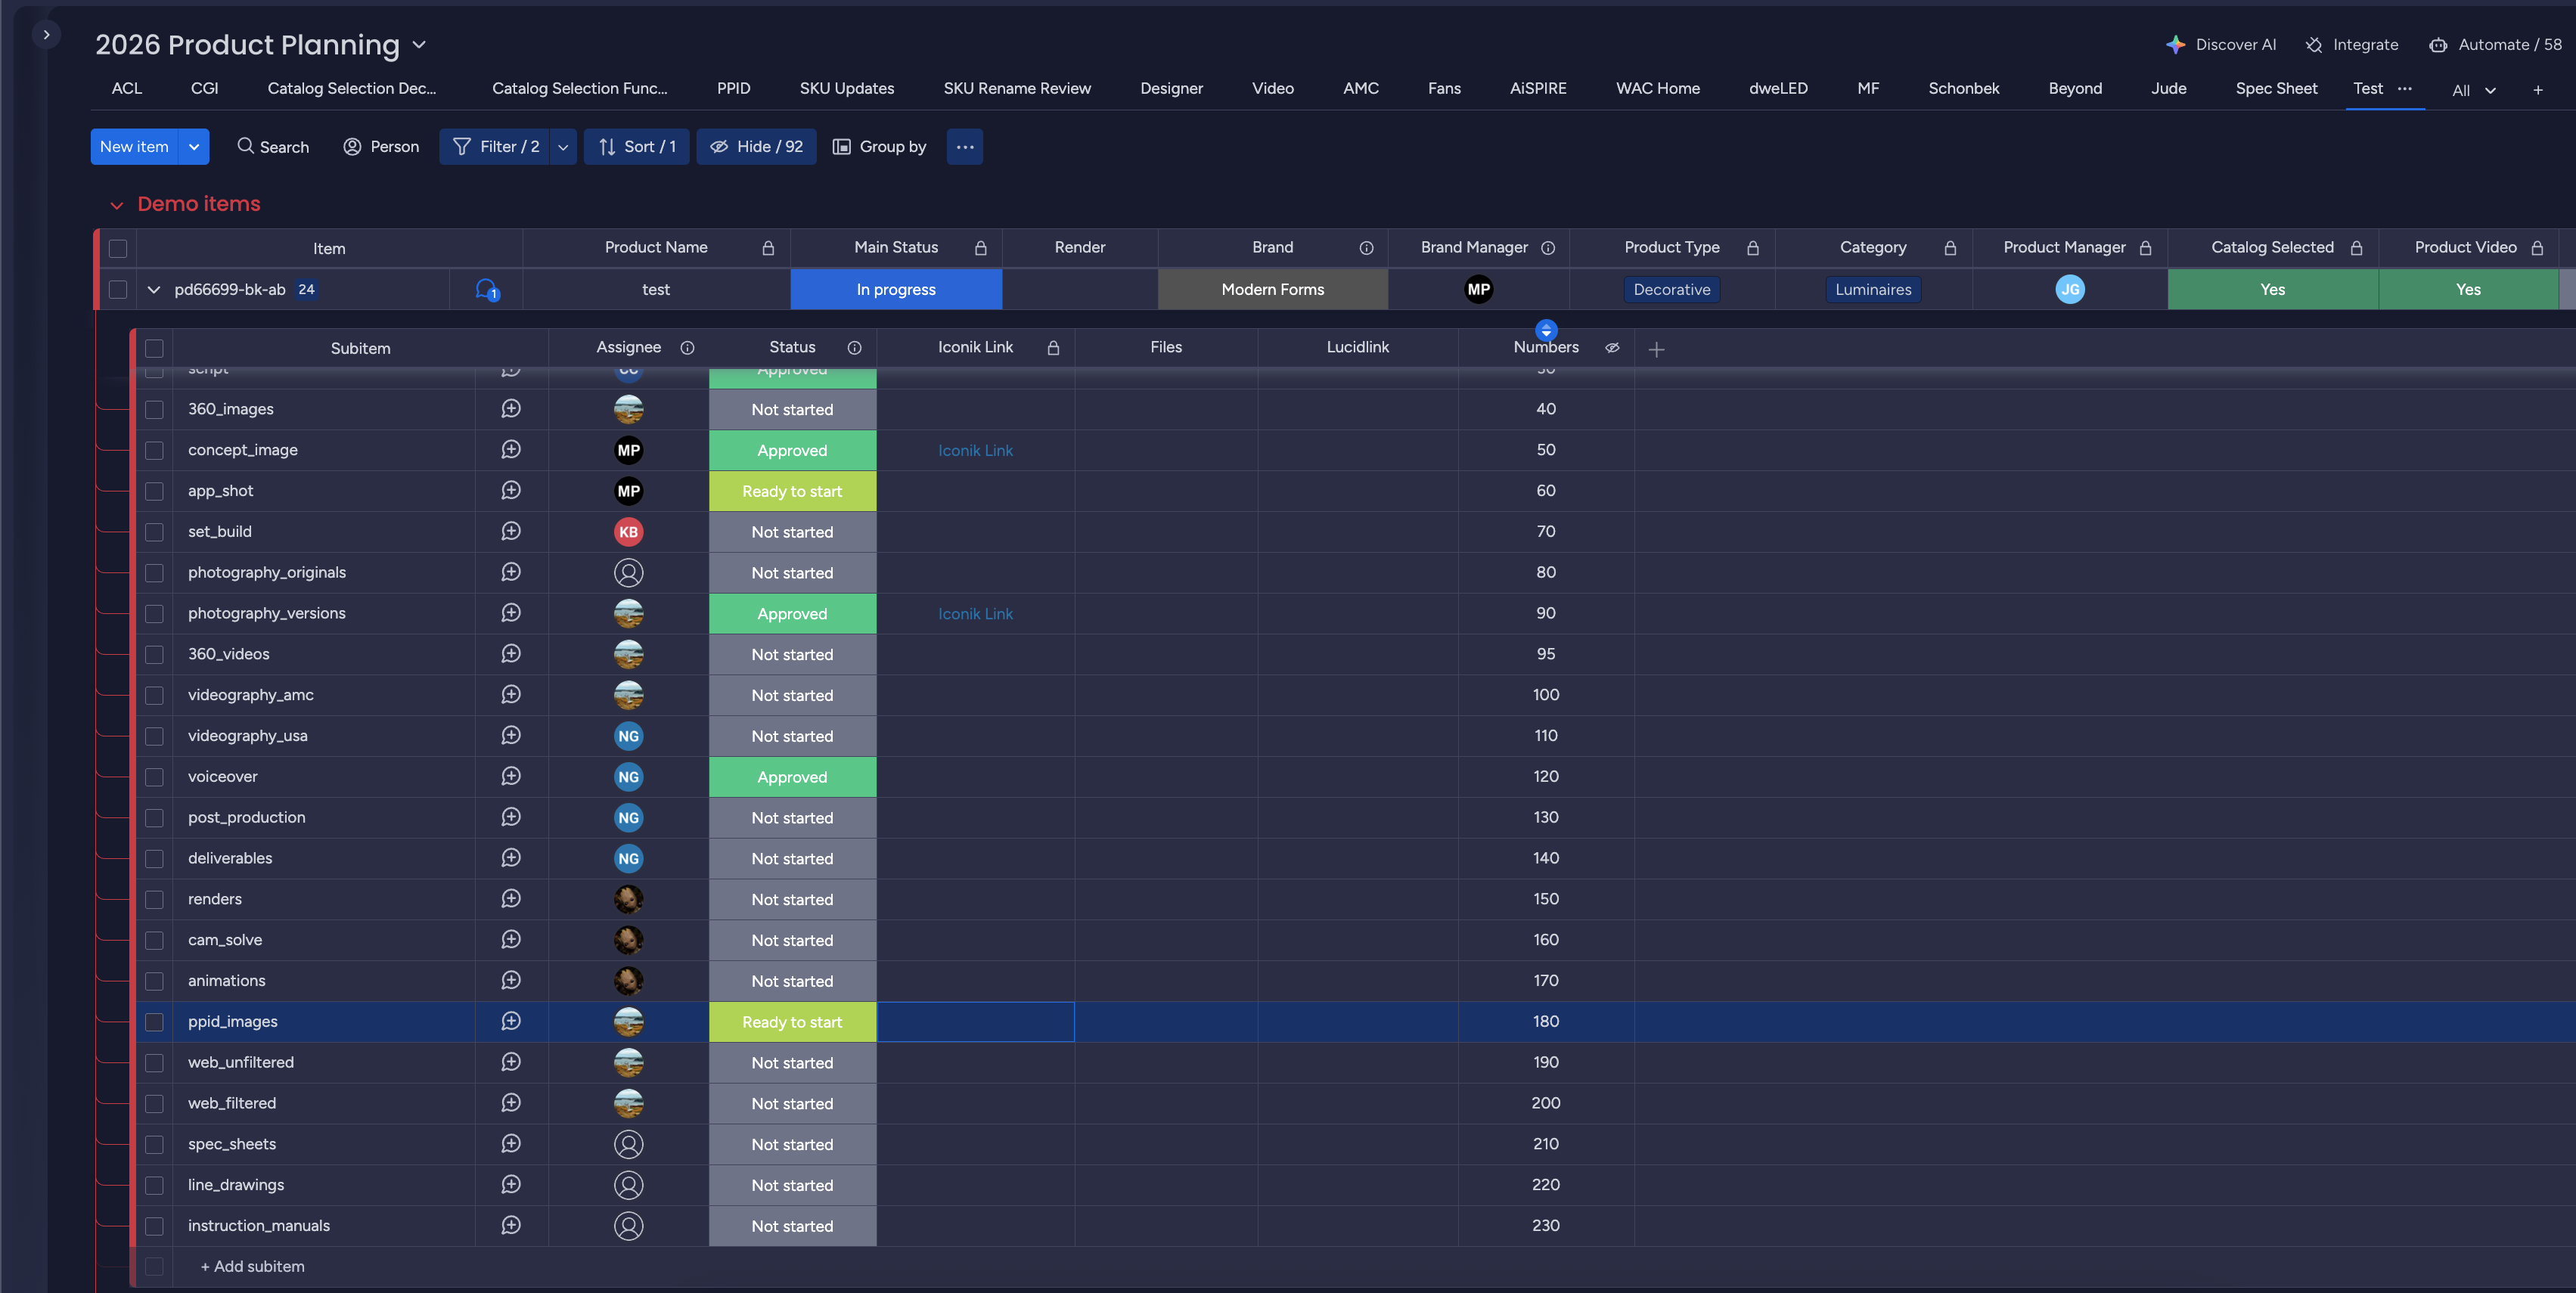
The trigger is the ppid_images subitem flipping to Ready to start: Jude or his
team (the assignee) is notified automatically. This means the photography or renders
(or both) were approved and are ready to be formatted - crop, aspect ratio, file
naming - to meet website requirements.
Trigger conditions
Section titled “Trigger conditions”Photography VersionsorRenderssubitem =Approved.
Prep & PM tagging review
Section titled “Prep & PM tagging review”The first pass produces a JPG for the Product Manager’s tagging review. Brand
compliance is no longer checked here - the Brand Manager already signed it off
upstream on versions, renders, and light_expression, so the PPID review is
purely the PM’s website-tagging pass (see the
Iconik Review Process).
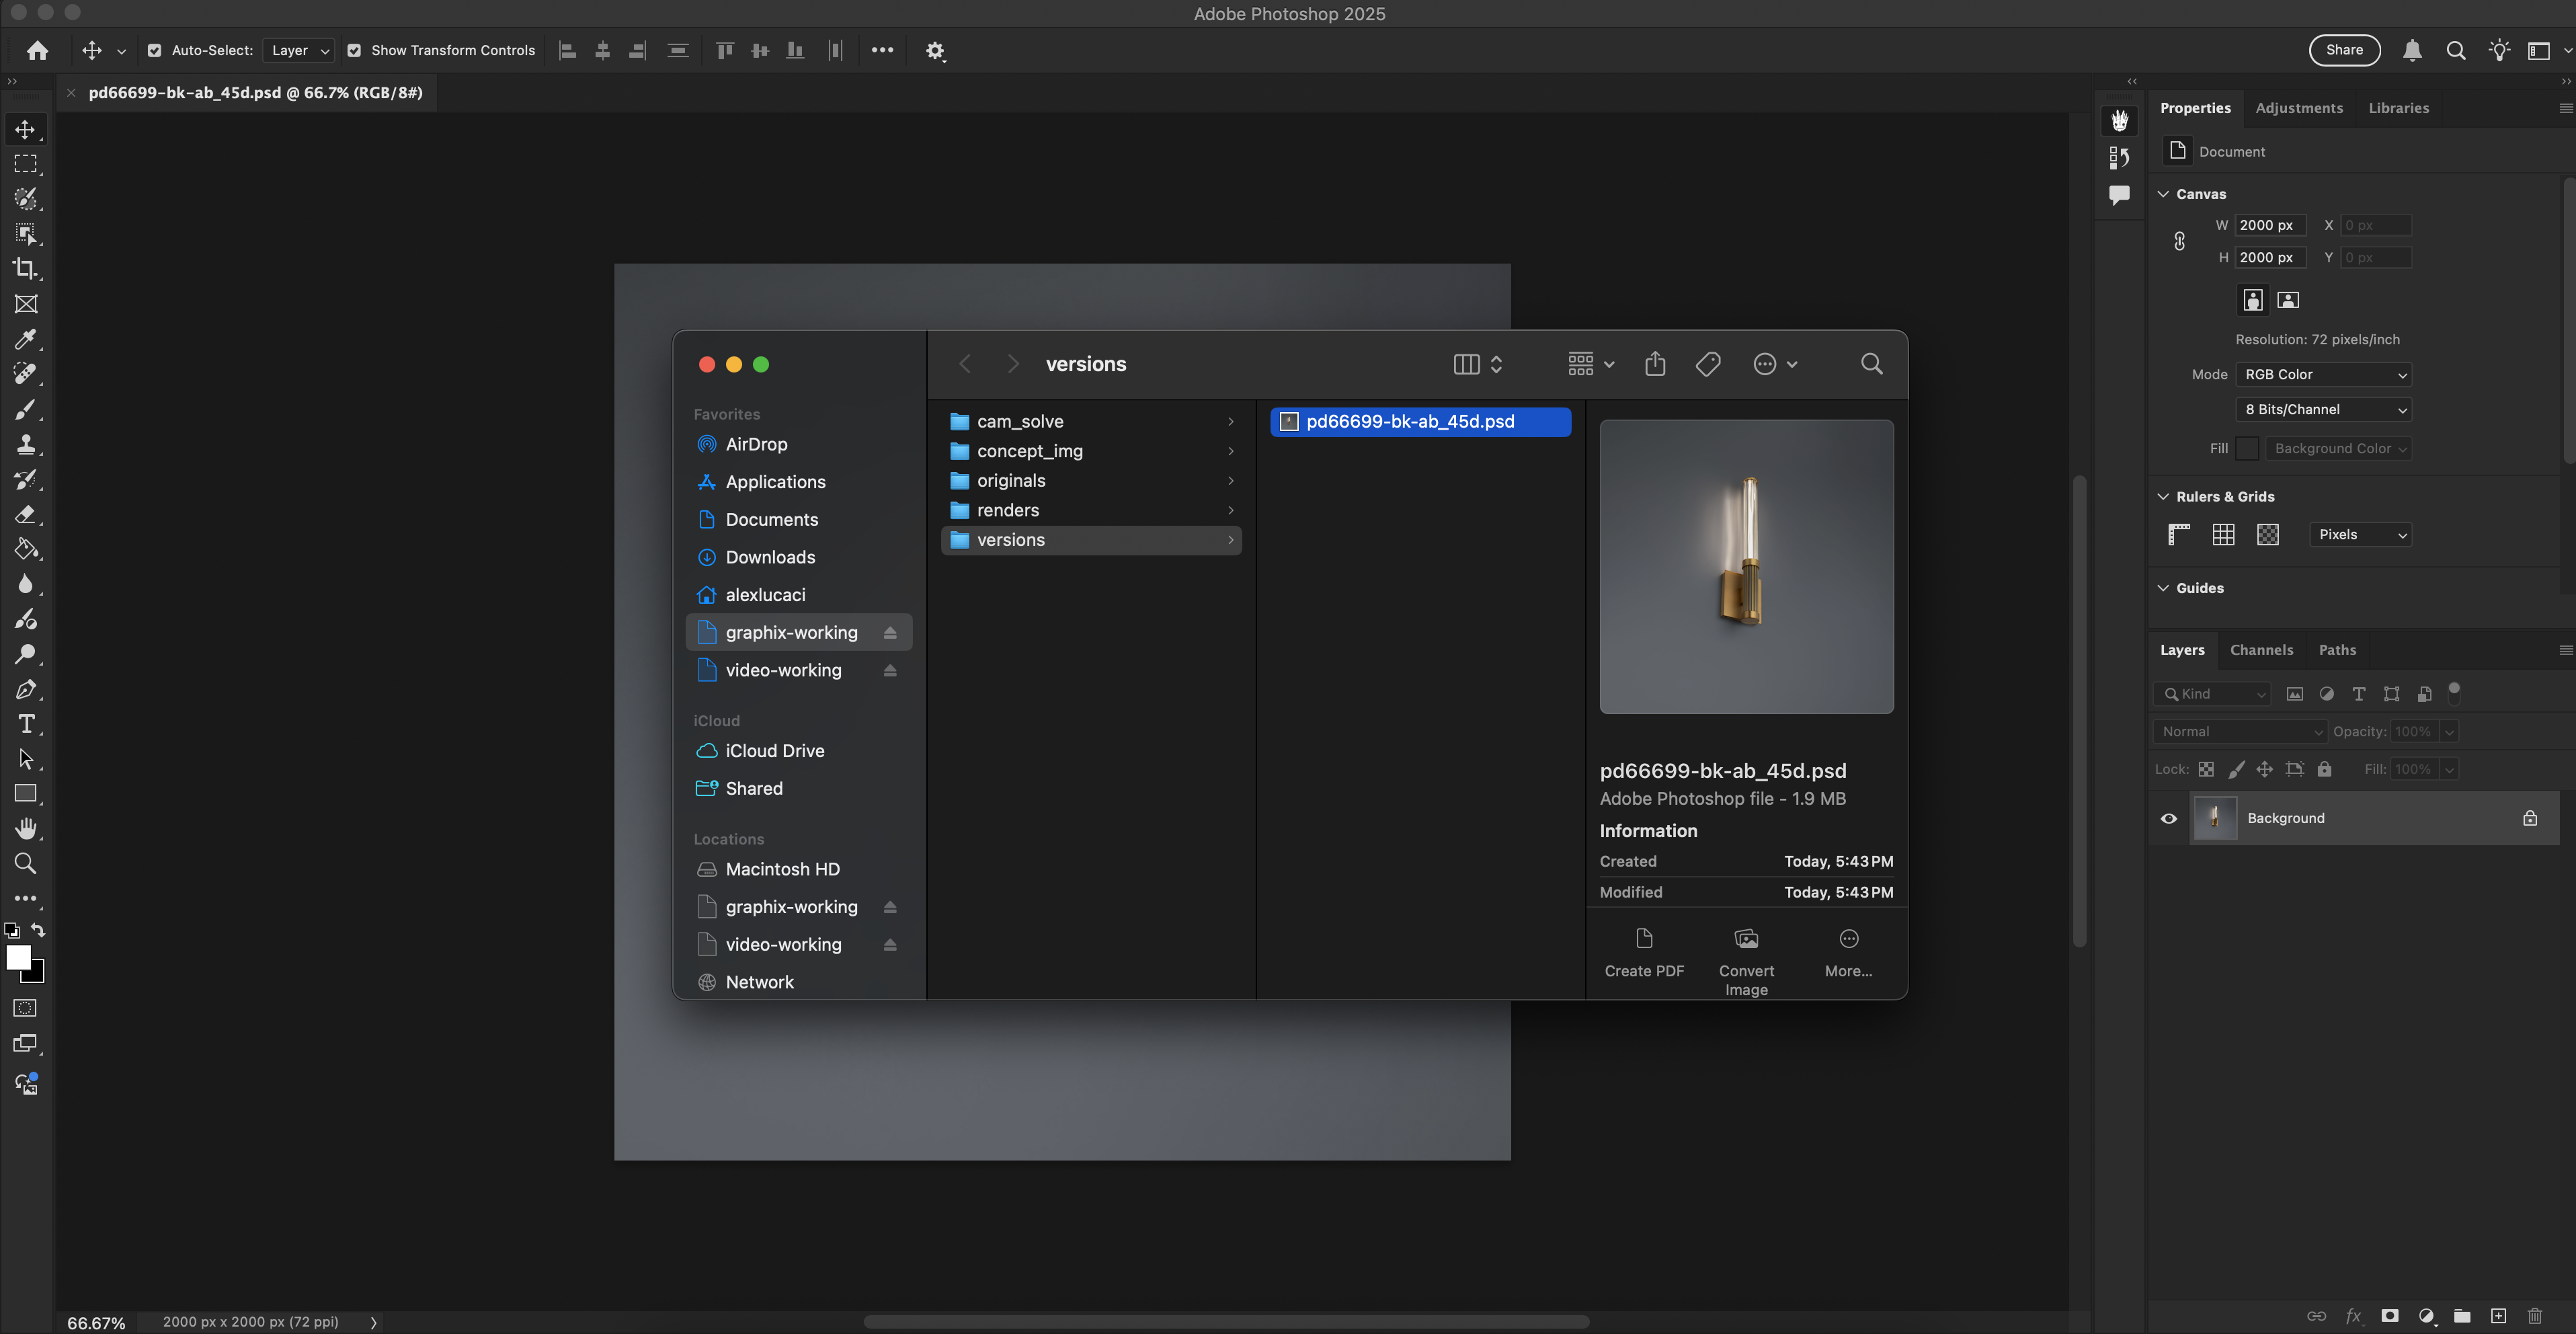
Open the approved PSD/PSB for that SKU using the Iconik link - it lives in
images/versions/ or images/renders/ relative to /product_images.
- Open the approved PSD from the
versions/orrenders/folder via the Iconik link. - Save Work - navigate to
/web_thumbnailsand save your PSD/PSB file there. - Crop, center, and resize to spec:
- aspect ratio
1:1 2000×2000 px(optional - the plugin resizes on Publish)72 dpi(optional - the plugin updates on Publish)
- aspect ratio
- Version Up to generate a JPG for review. The image appears in Iconik, a share
link is pushed to Monday, and the status is set to
PM Review. - The Product Manager does the website tagging (thumbnail codes + image order), then
sets the status to
Approved.
Publish - Filtered & Unfiltered web images
Section titled “Publish - Filtered & Unfiltered web images”Once the PM approves ppid_images, the board wakes web_unfiltered and
web_filtered (Ready to start) and you publish the final web images.
- Click the approved Iconik link to open the file via the Iconik agent.
- Click Publish - PPID images export to AVIF by default.
- The plugin generates all images based on preset conditions and writes them to:
web_thumbnails/_published/- the final locked PSD/PSB/ppid- exported PPID image (preset conditions)/filtered- exported image for website filter use/unfiltered- images carrying the main thumbnail type code (_T,_H,_V,_S,_C) plus the order token (_1,_2, …_9)
- Trigger: share links are pushed to Monday and each web task flips to
Completedthe moment its link lands - there is no review on web exports; delivering the files is the finish line.
Naming convention
Section titled “Naming convention”PPID web images carry type codes and an order number. Iconik tags use the bare letter; filenames use the underscore form.
| Code | Filename | Meaning |
|---|---|---|
T | _T | Thumbnail |
H | _H | Horizontal |
V | _V | Vertical |
S | _S | Spec |
C | _C | Ceiling |
- Order tokens
_1 … _9set website display order; the type code precedes the number (e.g.T 1). - Codes combine when one image serves multiple roles, e.g.
T S 1= thumbnail + spec, first in order. A thumbnail that’s also the first website image gets the lowest number. IMROis the fixed suffix on published web images (e.g.PD-25518-BKAB_FRONT_IMRO.AVIF);/filteredoutputs omit it.- PPID export specs: aspect ratio
1:1,2000×2000 px,72 dpi, outputAVIF. (The non-PPID Publish still offersJPG,PNG, orAVIF.)
Final output
Section titled “Final output”Based on the Product Manager’s website tagging (brand compliance already cleared upstream):
- Images are renamed according to web-team guidelines (the
IMROsuffix marks published files;/filteredoutputs omit it). - Files are saved to the correct locations on LucidLink for downstream website use.
- Share links and status updates are handled automatically by existing automations.