
LucidLink setup
LucidLink is WAC’s cloud storage system and the single source of truth for all
marketing assets, connecting the US team, China, and external vendors in one place.
It mounts the WAC filespaces (graphix-working.wac, video-working.wac, graphix.wac)
as a local drive. The Monday boards spawn folders here automatically - see
Folder structures.
Install
Section titled “Install”- Download the LucidLink App (pick your OS) and install it.
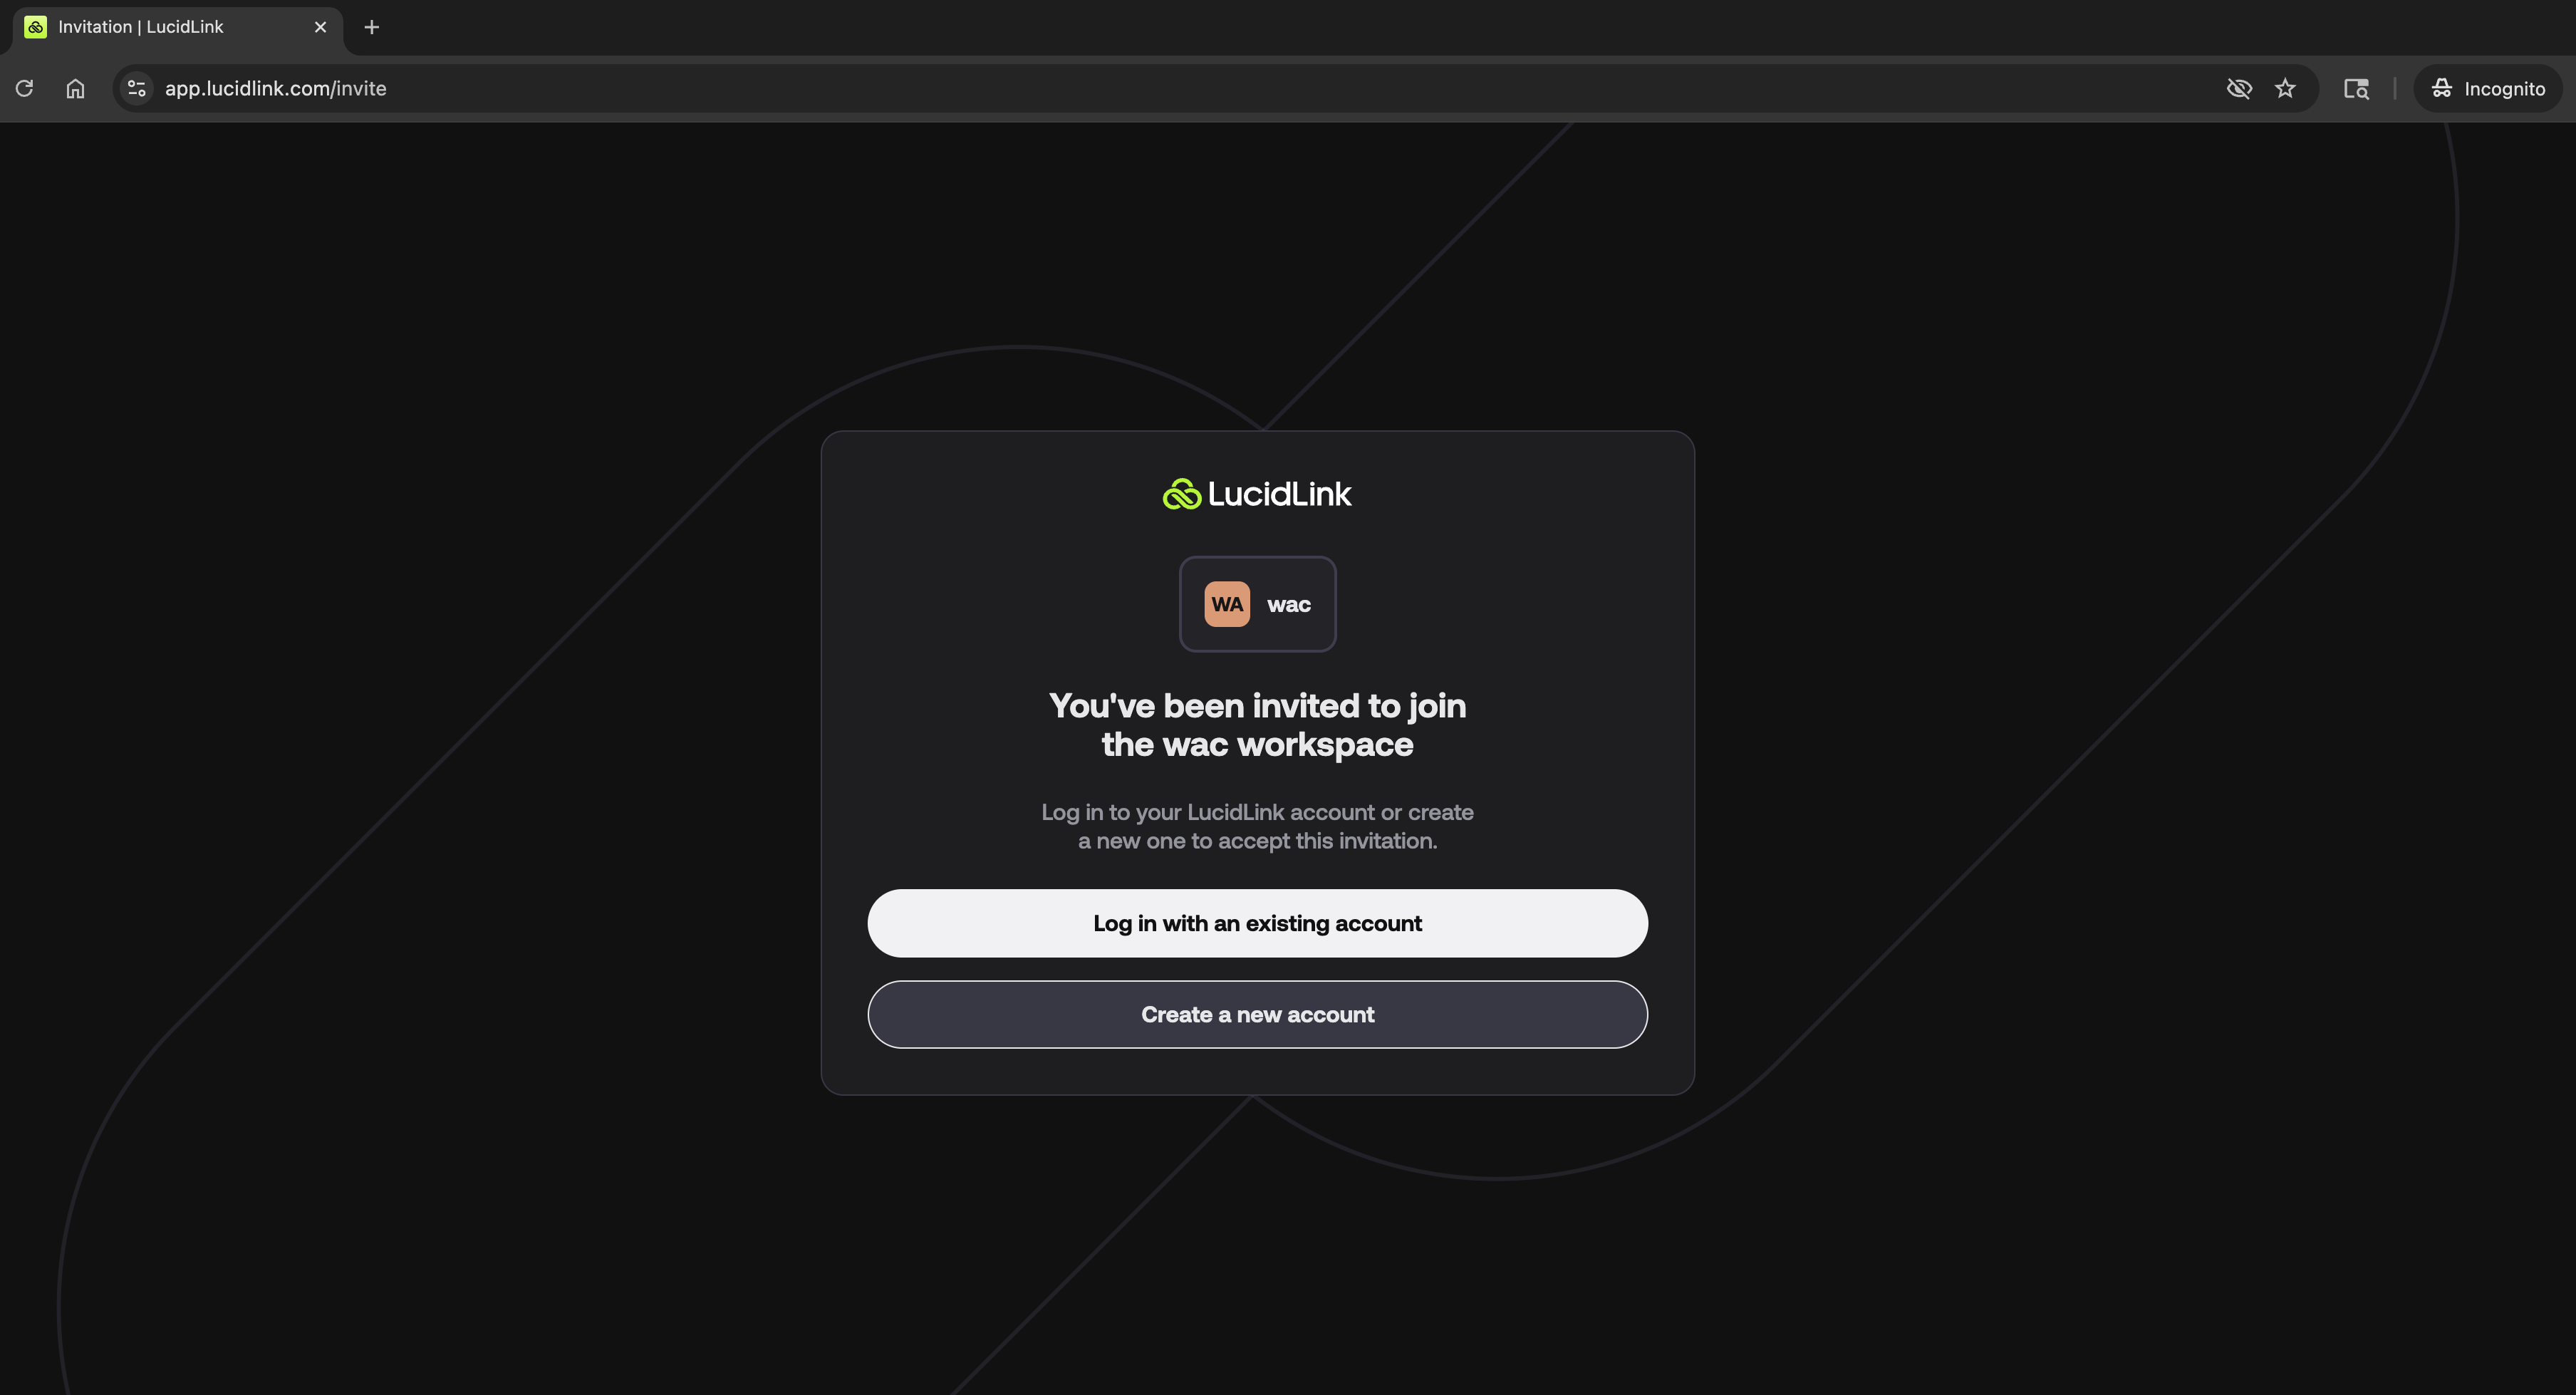
- Do not create an account yet. Request a workspace invite from your admin (IT Dept or Alex Lucaci), then open the invitation screen from that invite.
- On the invitation screen, click Create a new account.
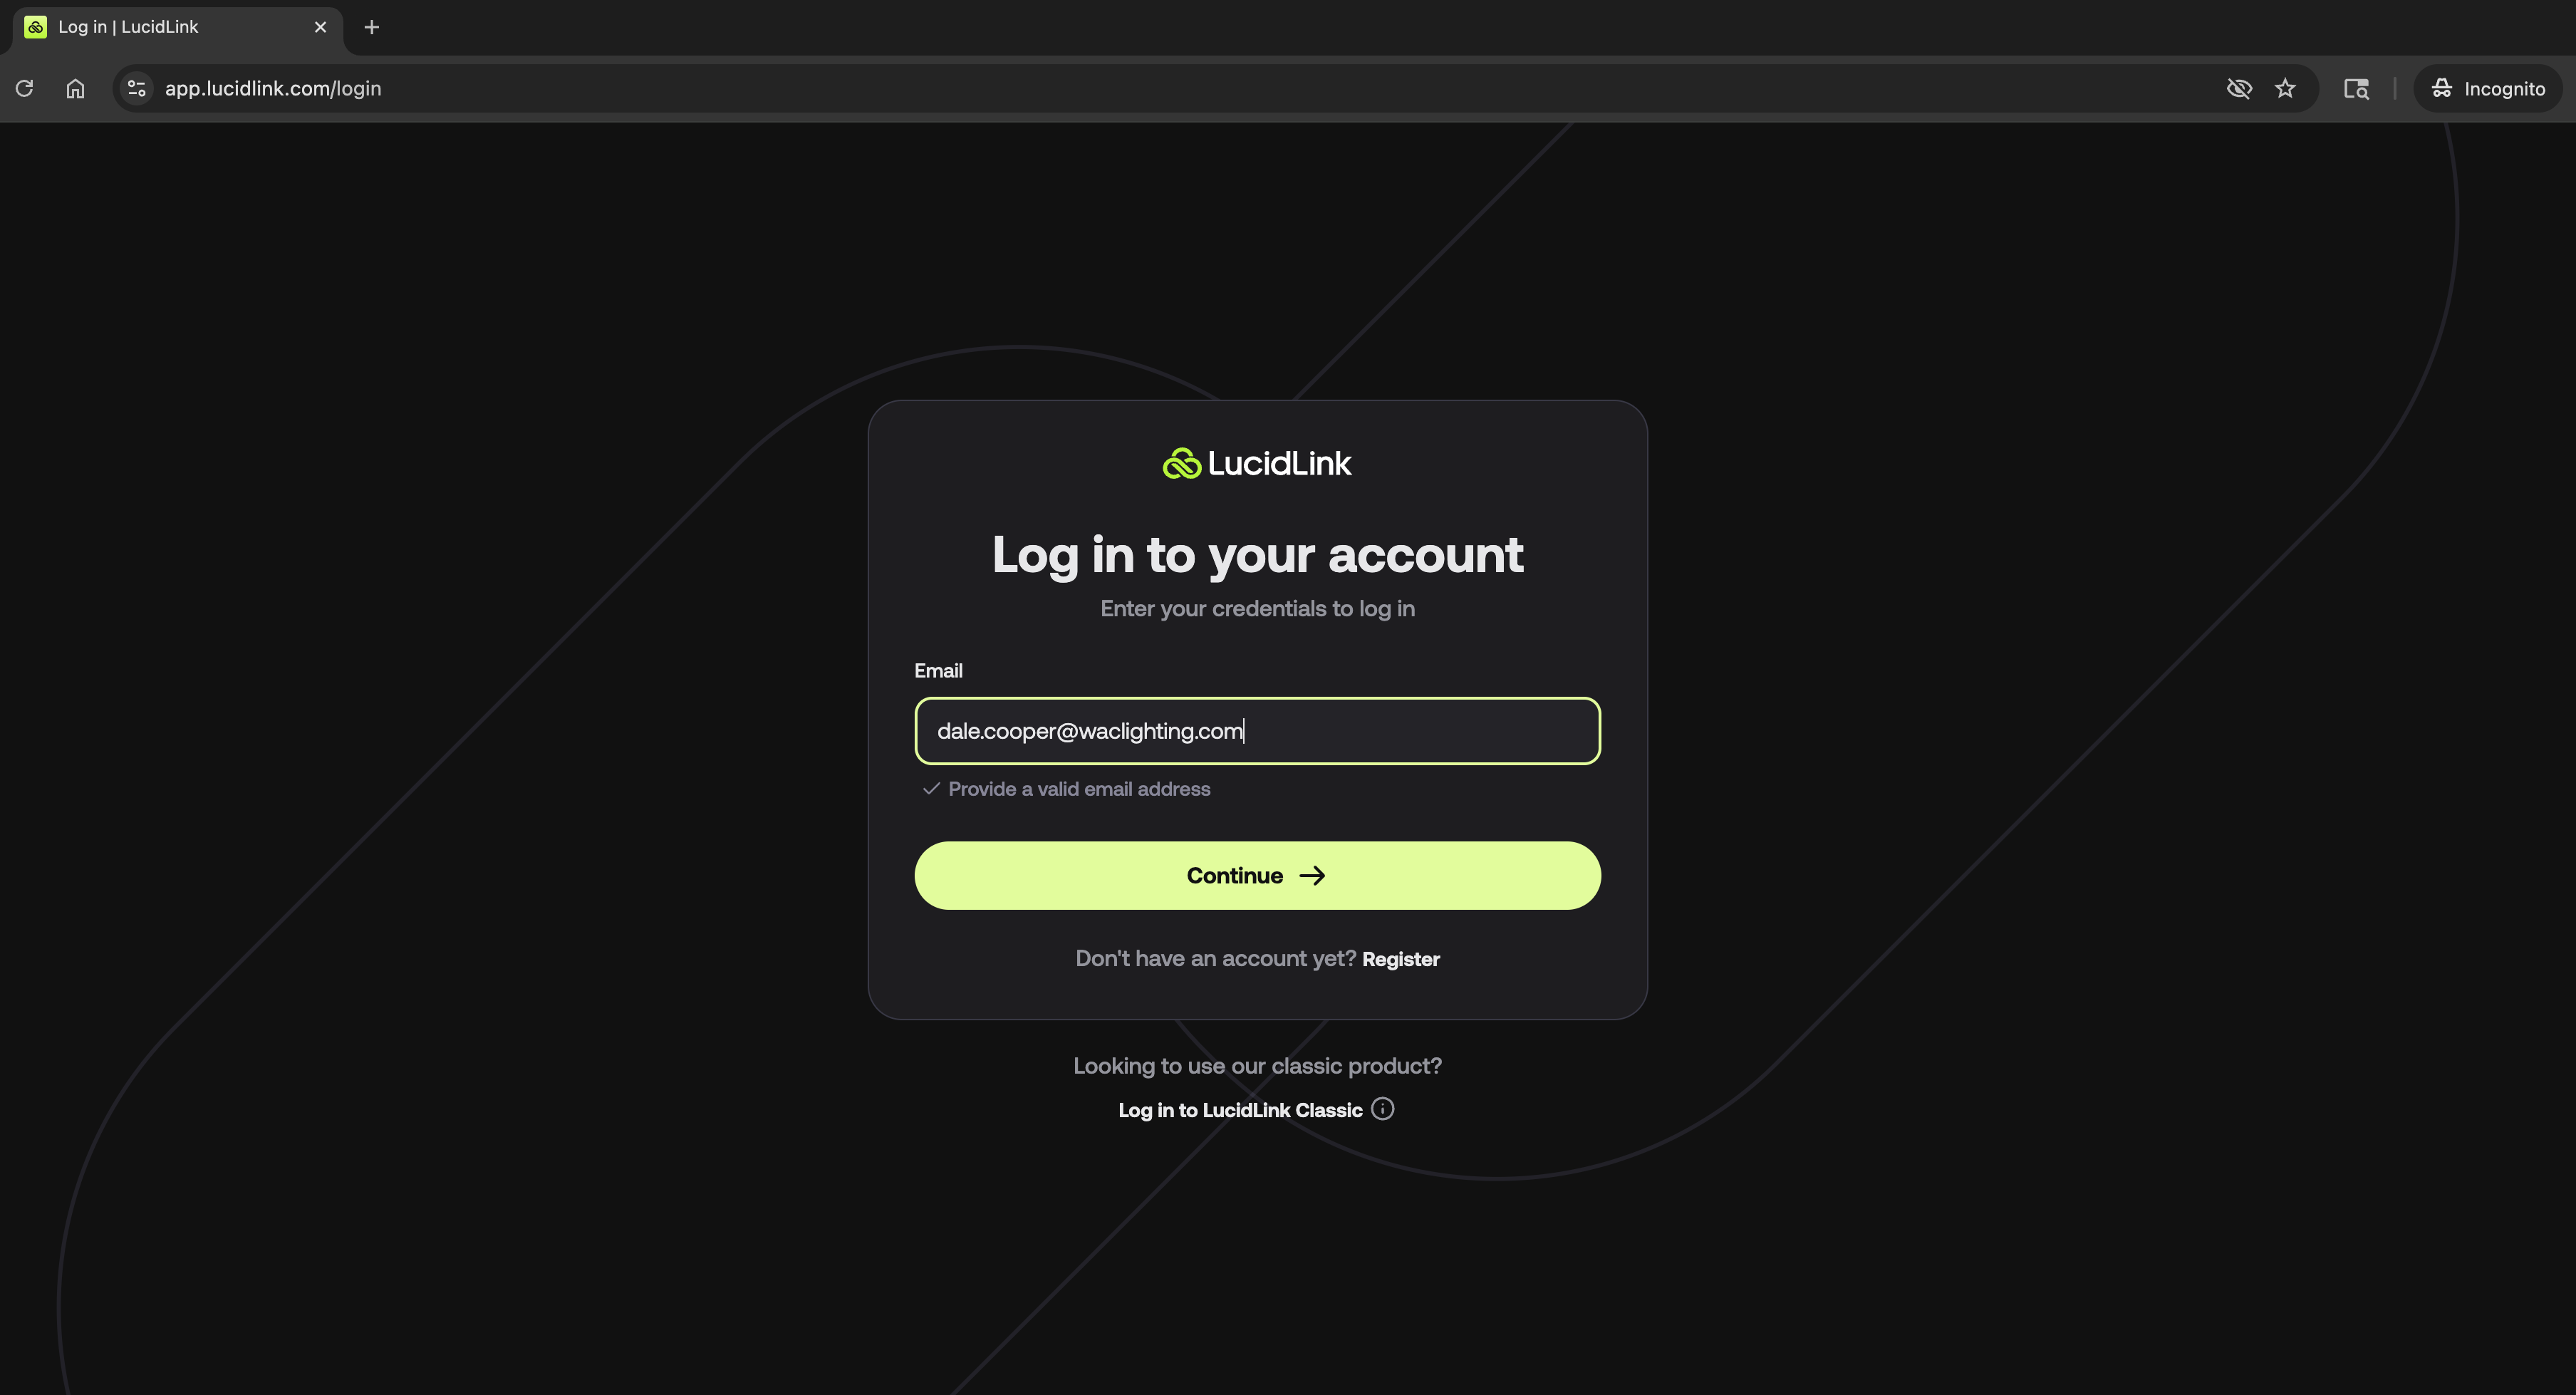
- Enter your work email (
firstName.lastName@waclighting.com) and click Continue. - Create a secure password and click Log in.
- When you see “You’ve been invited to join the WAC workspace”, click Accept invite. You should then see at least one filespace.
Backup code (required)
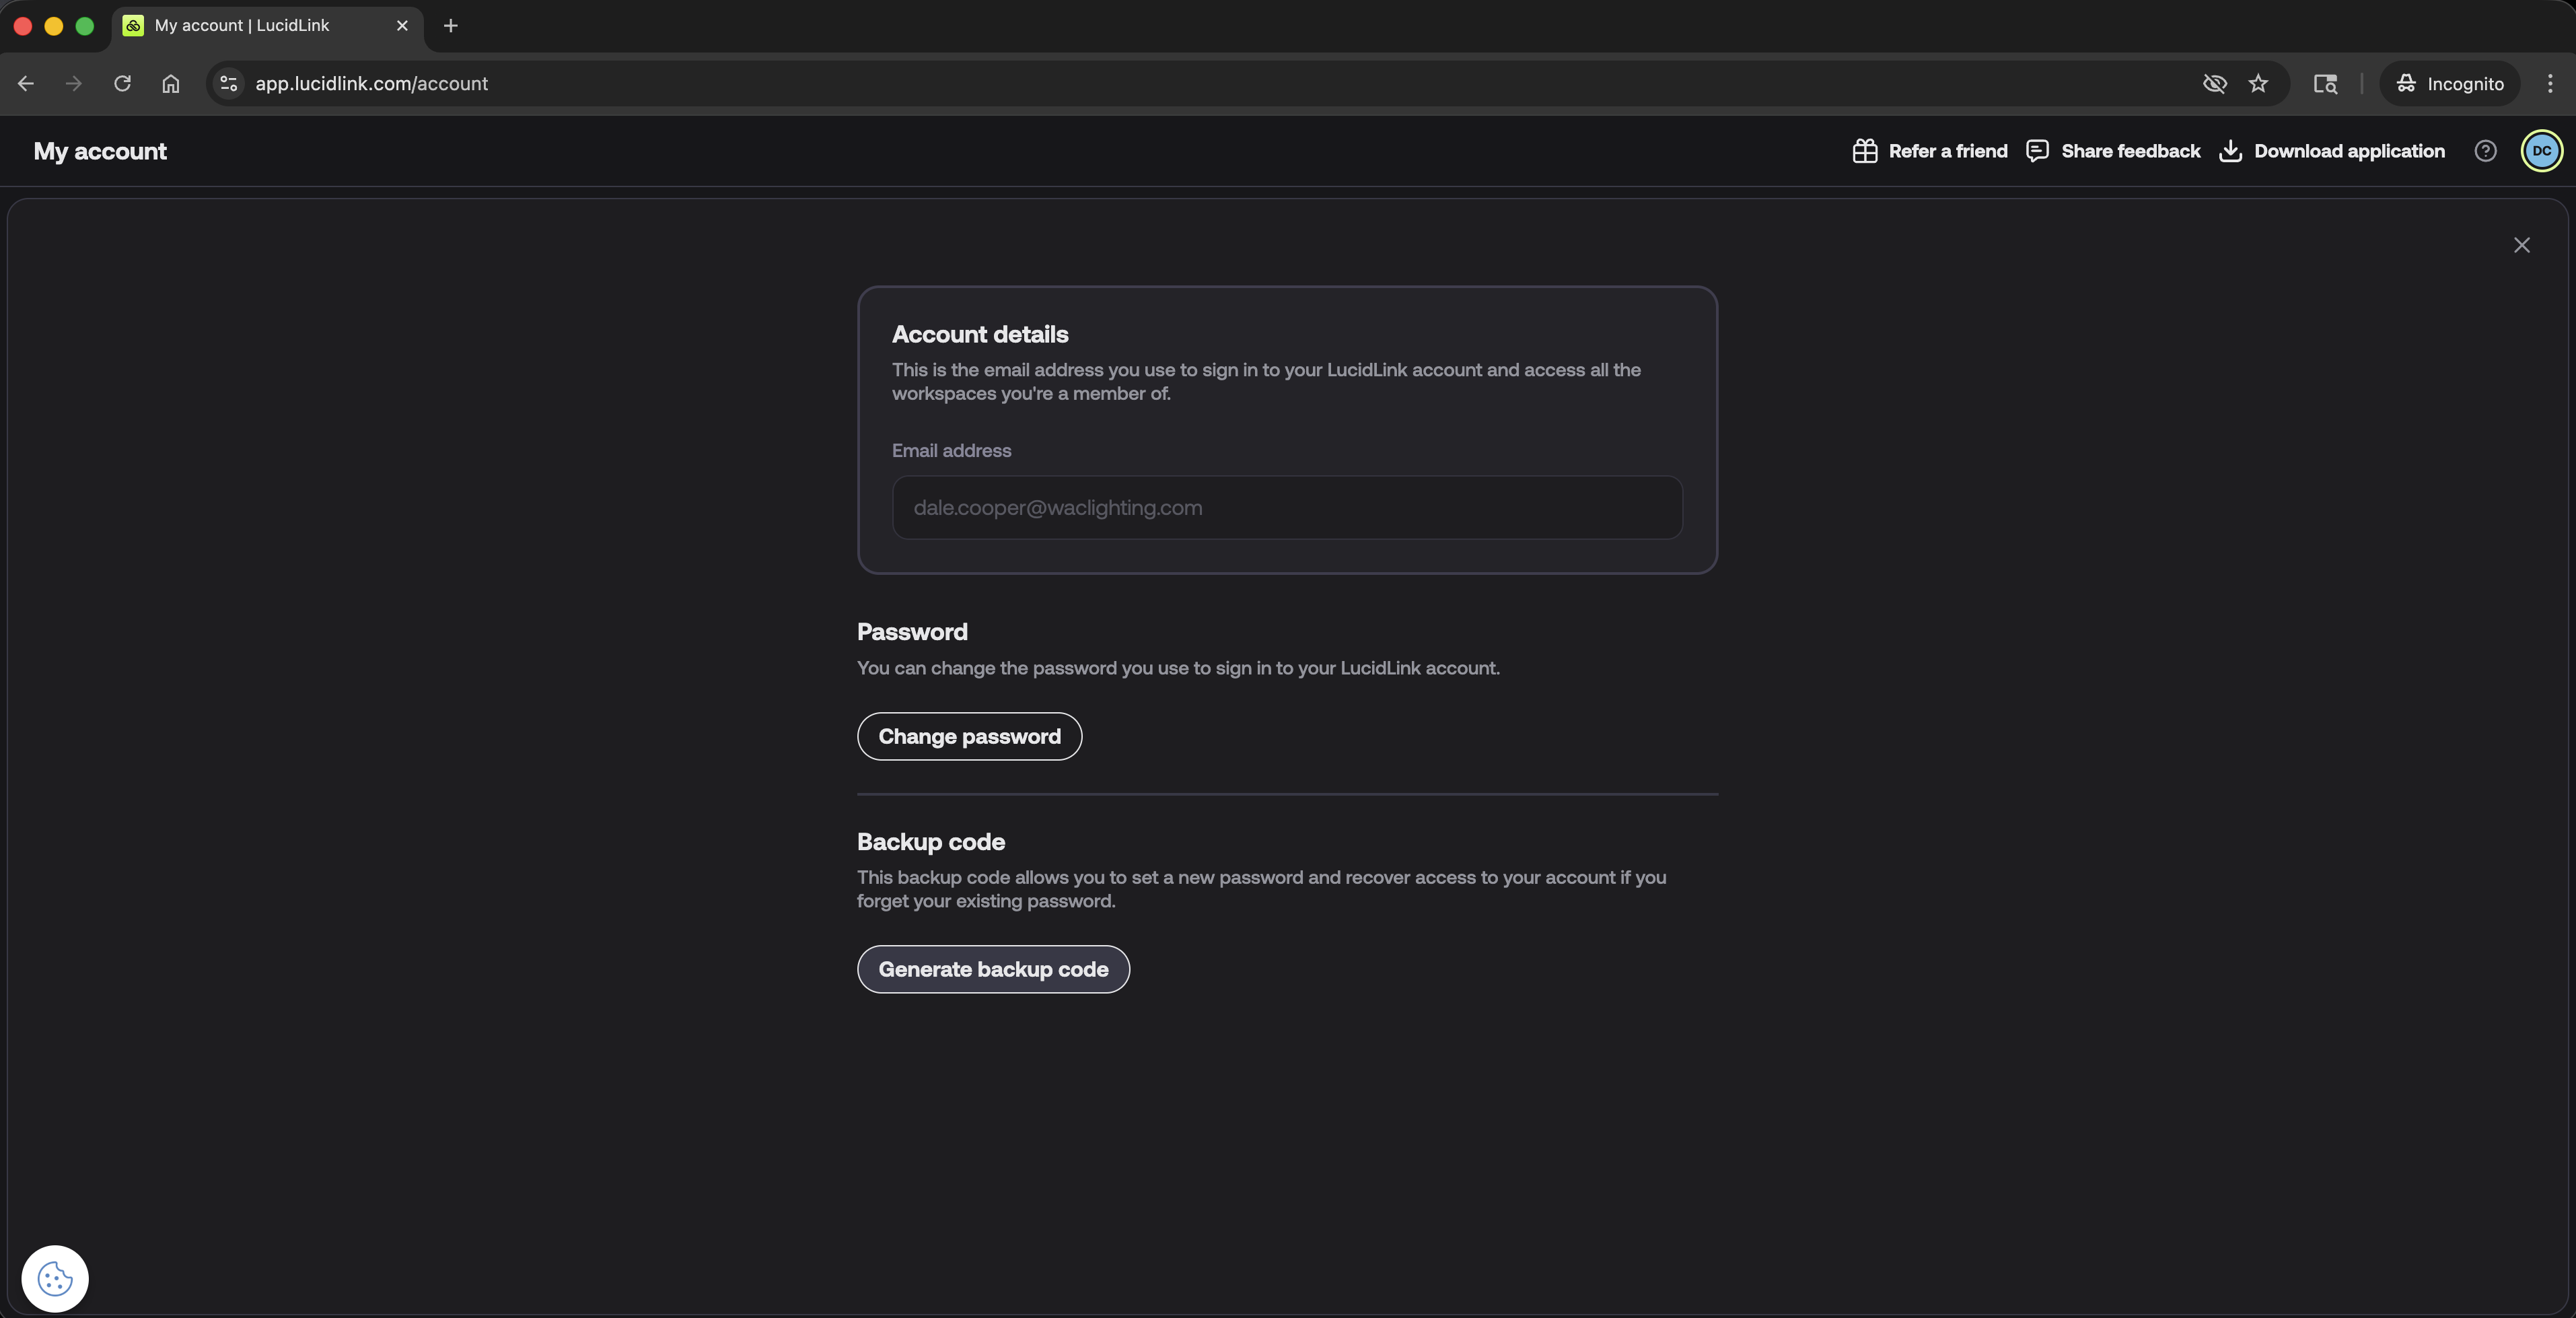
Section titled “Backup code (required)”After accepting the invite, generate and save a backup code. If you lose your password and do not have this backup code, your account cannot be recovered by an admin and you will need to open a support ticket.
- Click your profile icon in the top right.
- Go to My account.
- Click Generate backup code.
- Copy or download the backup code and save it in a secure location.
- Check the box confirming you have securely saved your backup code, then click Done.
Configure
Section titled “Configure”Optimize the cache
Section titled “Optimize the cache”LucidLink works best with a dedicated cache location, preferably on a fast SSD. You set the cache per filespace, so repeat these steps for each filespace.
- Click Open Control Panel to get to cache settings.
- Set the cache location and size based on how much SSD space you have. Divide your free space across the filespaces by your needs (and never fill the SSD to the max).
For example, on a 4 TB SSD you might allocate:
| Filespace | Allocated cache |
|---|---|
graphix-working.wac | 1500 GB (1.5 TB) |
video-working.wac | 1500 GB (1.5 TB) |
graphix.wac | 500 GB (0.5 TB) |
See LucidLink’s cache settings guide for the detailed walkthrough.
Pin folders for real-time access
Section titled “Pin folders for real-time access”Pinning forces a folder or file to always stay available locally, regardless of your internet connection. It keeps files accessible (even offline), speeds up access for daily projects, and auto-syncs any new updates in real time.
- Open LucidLink in your file explorer / Finder.
- Right-click the folder or file you want to pin (you can select multiple and pin all at once).
- Select Pin from the menu.
Each pinned item shows a pin icon:
- Green pin - fully cached and good to go.
- Blue pin - actively downloading / updating from the cloud.
- Orange pin - not enough space to cache (clear up some SSD room).
Up to 80% of your cache can be used for pinning (the rest is for day-to-day work). Unpin when you no longer need local copies to free up space. See LucidLink’s pinning guide.
Verify
Section titled “Verify”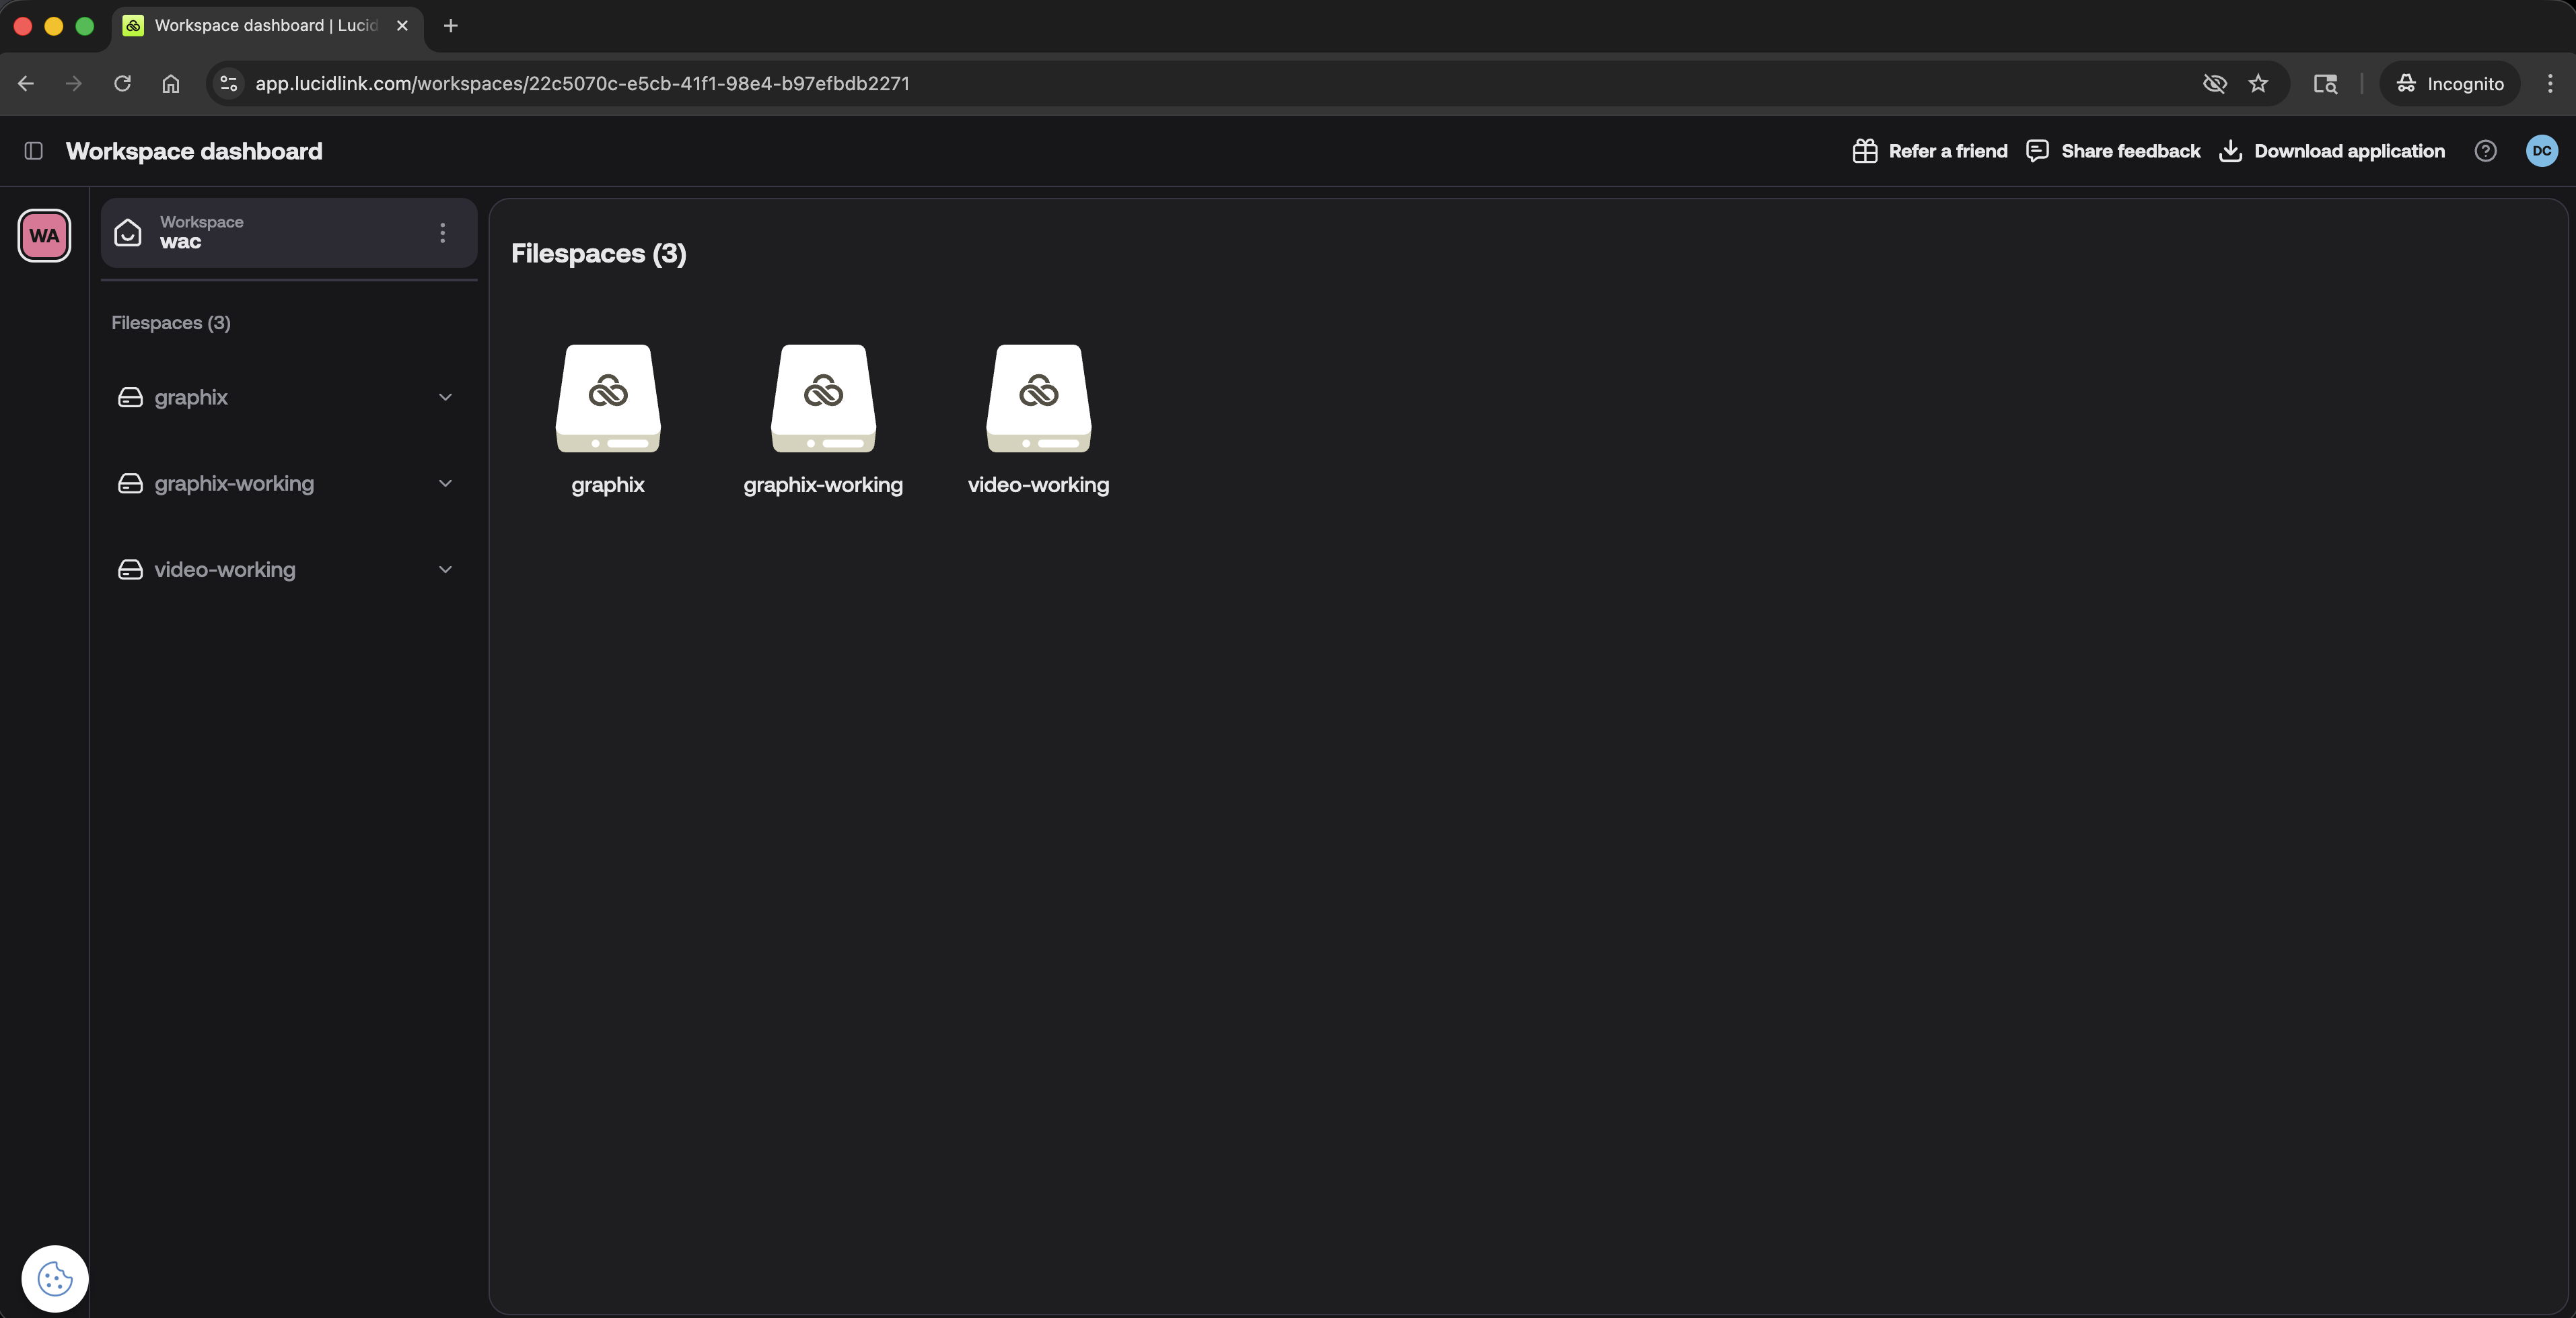
After logging in, you should see one or more filespaces depending on your role:
graphixgraphix-workingvideo-working
This is normal. Filespace access is role-based. If you do not see a specific filespace or folder you need, permissions have not yet been assigned - request access from the admin: